Pursuing the “best” roundness and cylindrical profile measuring instrument
Features
Ultra-high accuracy of the world’s highest level
Radial direction rotation accuracy (0.01+3H/10000) μm Axis direction rotation accuracy (0.02+3R/10000) μm
Newly developped driving and Guiding mechanism (Patend pending)
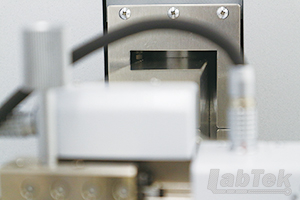
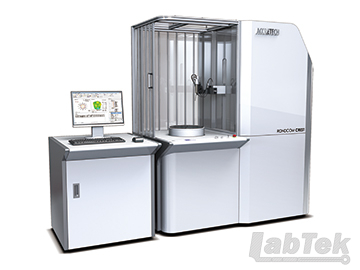
RONDCOM CREST is featured by newly developed mechanisms mounted on the Z axis of the column and the R axis of the drive unit, representing the essence of the tradition and technology of Tokyo Seimitsu.
For the drive system, a new system combining the non-contact and low-vibration linear motor drive technology, which has an established reputation on our roughness and contour measuring machines, and a newly developed original positioning mechanism is adopted. The guide system, which was also newly developed, inherits the air-bearing-based non-contact support technology, which was cultivated in coordinate measuring machines and expanded to RONDCOM 60 series, with the air bearings upgraded to meet the low vibration specifications dedicated to RONDCOM CREST.
Combination of these drive and guide systems significantly improved the rotation accuracy as well as the positioning accuracy and straightness of each axis, realizing an ultra-high accuracy of the world’s highest level, which makes it worthy of a reference machine. Since both of the drive and guide systems are non-contact structure, the guide section has no wear, demonstrating stable high accuracy over a long period.
Equipped with newly developed measuring force control detector realizing automatic switching between roundness measurement and roughness measurement
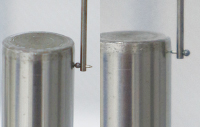
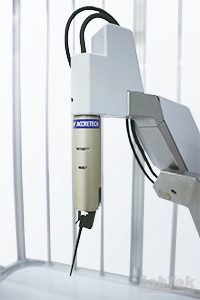
Newly developed measuring force control detector is equipped to RONDCOM CREST.
The previous detector required manual adjustment of measuring directions, measuring forces and front/over travel by using front knob, but the measuring force control detector enables automatic adjustment of these on the software.
The automatic adjustment function of measuring directions and measuring forces coupled with the roughness measurement option and T stylus realized automatic switching between roundness measurement and roughness measurement. Unlike the previous models, the new model saves the trouble of changing the detector and the stylus for workpieces requiring to evaluate both the roundness and the roughness.
Also, if the workpiece is notched, by specifying the front travel (limiting the fall of the stylus) to prevent the stylus from colliding against the notch, it is possible to perform the measurement without damaging the stylus or the detector.
Moreover, the stylus tip position can be controlled within the measurement range of ±1 mm (by retraction).
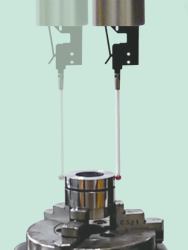
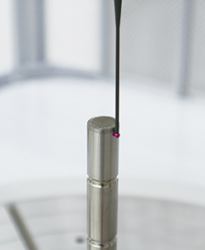
In measuring the internal surface of a tiny hole, the stylus shaft may interfere with the workpiece when approaching. By retracting the stylus to make it pointed directly below* and inserting it into the hole and then cancelling the retraction when it reaches to the measuring point, it is possible to approach the measuring point smoothly without interfering with the
workpiece.
* Applicable only to styluses that should be pointed directly below for measurement as a standard
Ultra-high accuracy diameter measurement enabled only by RONDCOM CREST. Surpassing the previous machines by the repeatability of 0.3 μm
RONDCOM CREST demonstrates ultra-high accuracy not only in the measurement of roundness and cylindricity. Equipped with the opposed diameter measurement function with a proven track record on RONDCOM NEX series, it can perform highly accurate diameter measurement by cancelling the errors caused by temperature variation or generatrix deviation.
Moreover, newly developed “Automatic crowning function” is mounted on it to significantly enhance the effectiveness of opposed diameter measurement. After alignment, the workpiece is measured in the longitudinal direction (direction of the generatrix adjustment axis) to detect the generatrix position. Then, the stylus tip automatically moves to the detected bus position.
As diameter measurement can be performed at a more accurate generatrix position, effectiveness of the generatrix deviation error cancellation by the opposed diameter measurement function can be improved to achieve an extremely high accuracy in diameter measurement.
